

Think you're Cutout for doing Outside Pictures? Take this Quiz:
/Passing on a Quiz that first was to myself
Recently, I was asked to do an outside family of 6 people. So of the three locations shown below which would you pick? And why would you pick it? Afterward I'll show you my pick and how I did it.

Location number 1. Would you pick this nice shaded area with the stairs to help pose the group?
I love this old building. I love having steps to help pose people at different heights. I picked this angle which is great for family where I can seat them all.
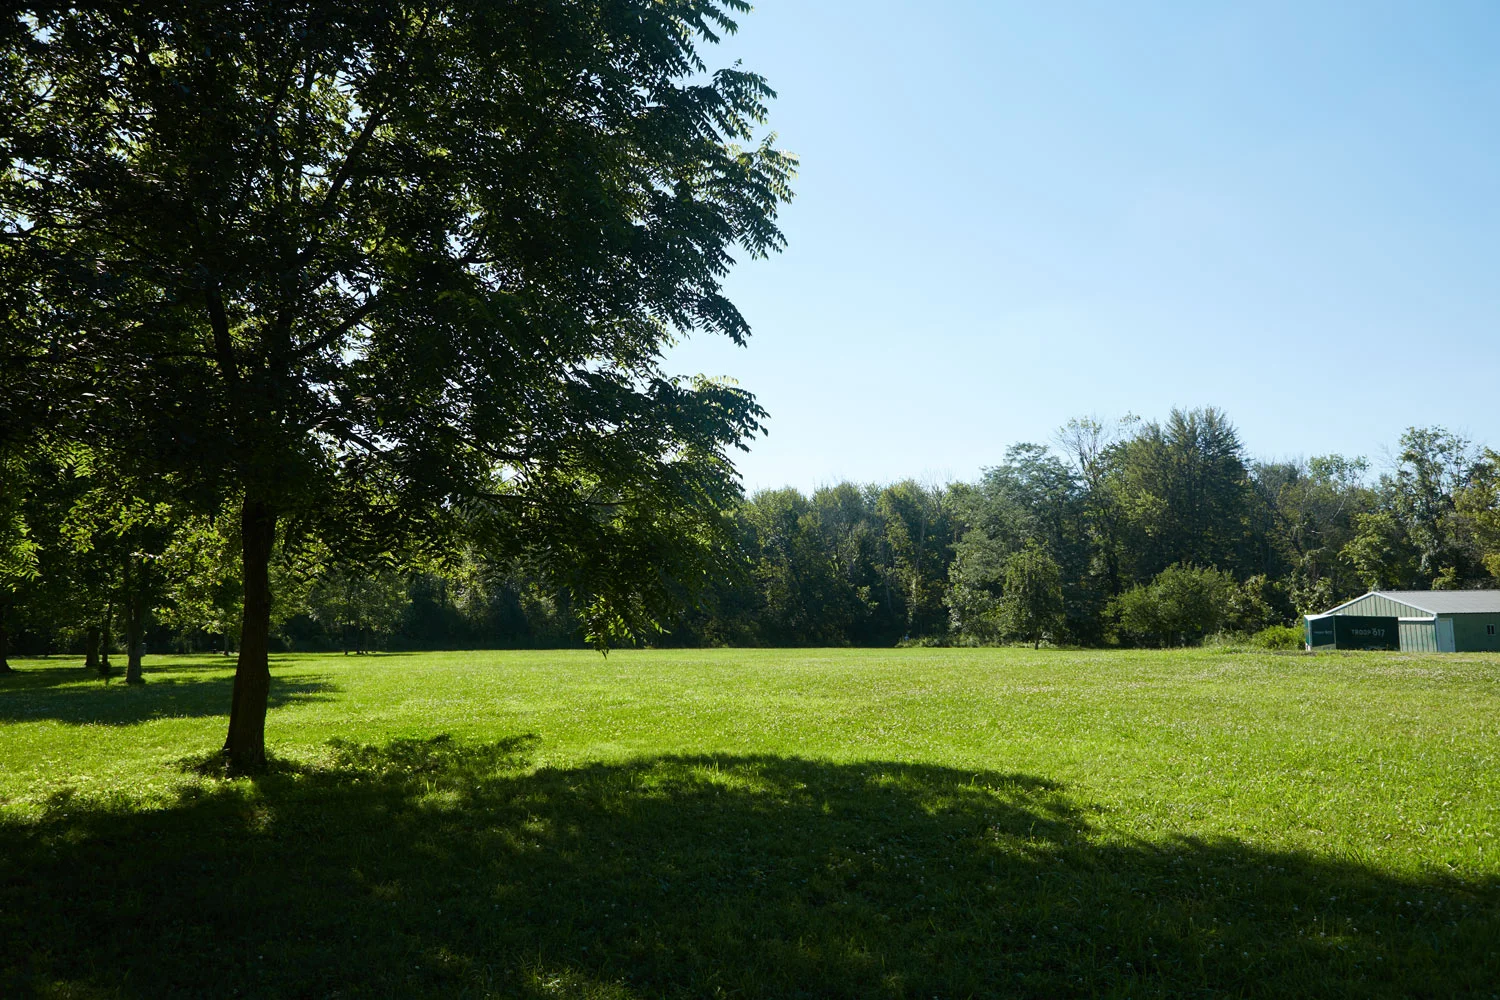
Location number 2. Would you pick this open shade area and how would you pose 10 people?
I love this open spot for its simplicity. My only concern is the building in the far right corner which I can eliminate by changing the viewing angle of my camera or by zooming my lens to not show it.

Location number 3. Would you pick this bridge instead?
I've photographed family on this bridge before. Again I always pick a spot where there is shade on my subjects and if there is any sun, it will be coming from behind them toward my camera as shown here.

Wanting to seat my subjects, this rail would be in front of their heads.
This would be a tight location for 6 people. Of course I could do two rows. Seat the first row and say stand the second row. But the seated row would have this guard rail in front of their heads.

Adding several rows, in this tight space, would cause people in the back to appear smaller.
This space is good for a smaller family group. But adding 6 people would require make it a little tight when posing. As people stand further away from the camera they appear smaller.

Client brought two arm chairs and I had a posing stool which I chose not to use in the following group photo.
The only other difficulty in posing a group here was getting the heads on different levels. Use of chairs is ideal for this situation. I asked the client to bring two chairs with arm rests. Sitting people on the arm rests helped change their height for the second row. Then I had the men stand for the third row.

I picked location number 2 and added two chairs to help with posing. And all were close to being in one row.
As there was plenty of room and simple wide open space behind them I chose this location. I used two chairs with arm rests. I added an AC Studio flash, with umbrella, powered by a special battery for outside use allowing me to match the light on the group with the light on the background. As otherwise they would not stand out, being in shade as they are.
To learn more about taking pictures inside or out (even with your smart phone) see my article: 3 photography tips for better group pictures
What do you think? Please leave a comment or question below.
Dave Likes
L. David Likes Photography
